Consistent Drone Shots for Construction Timelapses
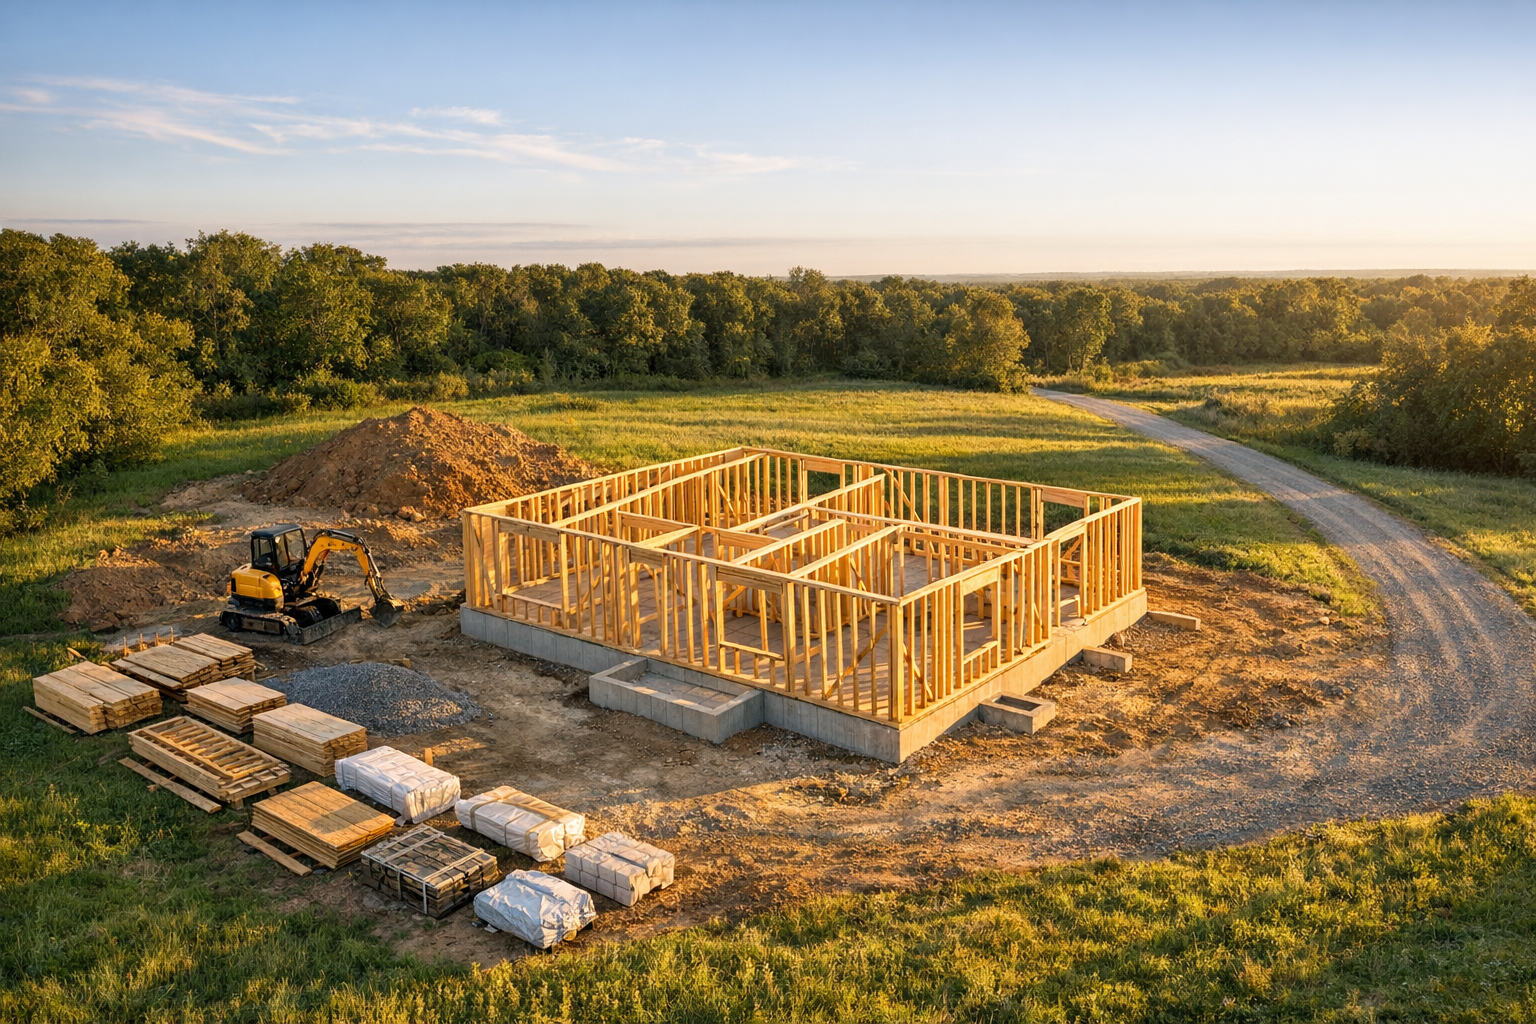
A single drone photo is impressive. A sequence of drone photos taken from the exact same position over weeks and months? That’s a powerful visual record of your entire build, and one of the most compelling ways to share progress with clients, stakeholders, or your future self.
But here’s the catch: a great construction timelapse lives or dies by consistency. If every shot is taken from a slightly different angle, altitude, or time of day, the result looks chaotic instead of cinematic. The building appears to jump around the frame, shadows shift wildly, and the sense of steady progress is lost.
This guide covers everything you need to know about capturing consistent, high-quality drone shots that turn into stunning construction timelapses.
Site Diary AI lets you create named timelapse sequences from your site photos. Upload, reorder, and share them with clients. No video editing required.
Try It Free →Why Consistency Matters More Than Camera Quality
Scroll through construction timelapse videos on YouTube. The ones that go viral aren’t necessarily shot with the most expensive drone. They’re the ones where every single frame lines up perfectly. When the camera position stays locked, your eye focuses on what’s actually changing: the building rising from the ground.
Inconsistent shots create these problems:
- Visual jumpiness: The building shifts position between frames, making the timelapse disorienting.
- Unusable frames: A shot from a different angle can’t be mixed into a timelapse sequence without breaking the illusion.
- Lost context: If each photo frames the site differently, it’s hard to compare progress from one week to the next.
- Wasted effort: You did the work of flying the drone and capturing photos, but if they don’t match, the entire sequence is compromised.
The goal is simple: when someone watches your timelapse, the only thing that should move is the construction itself.
Choosing Your Angles: The Three Essential Shots
You don’t need dozens of angles. For most construction projects, three well-chosen positions give you complete visual coverage while keeping the effort manageable.
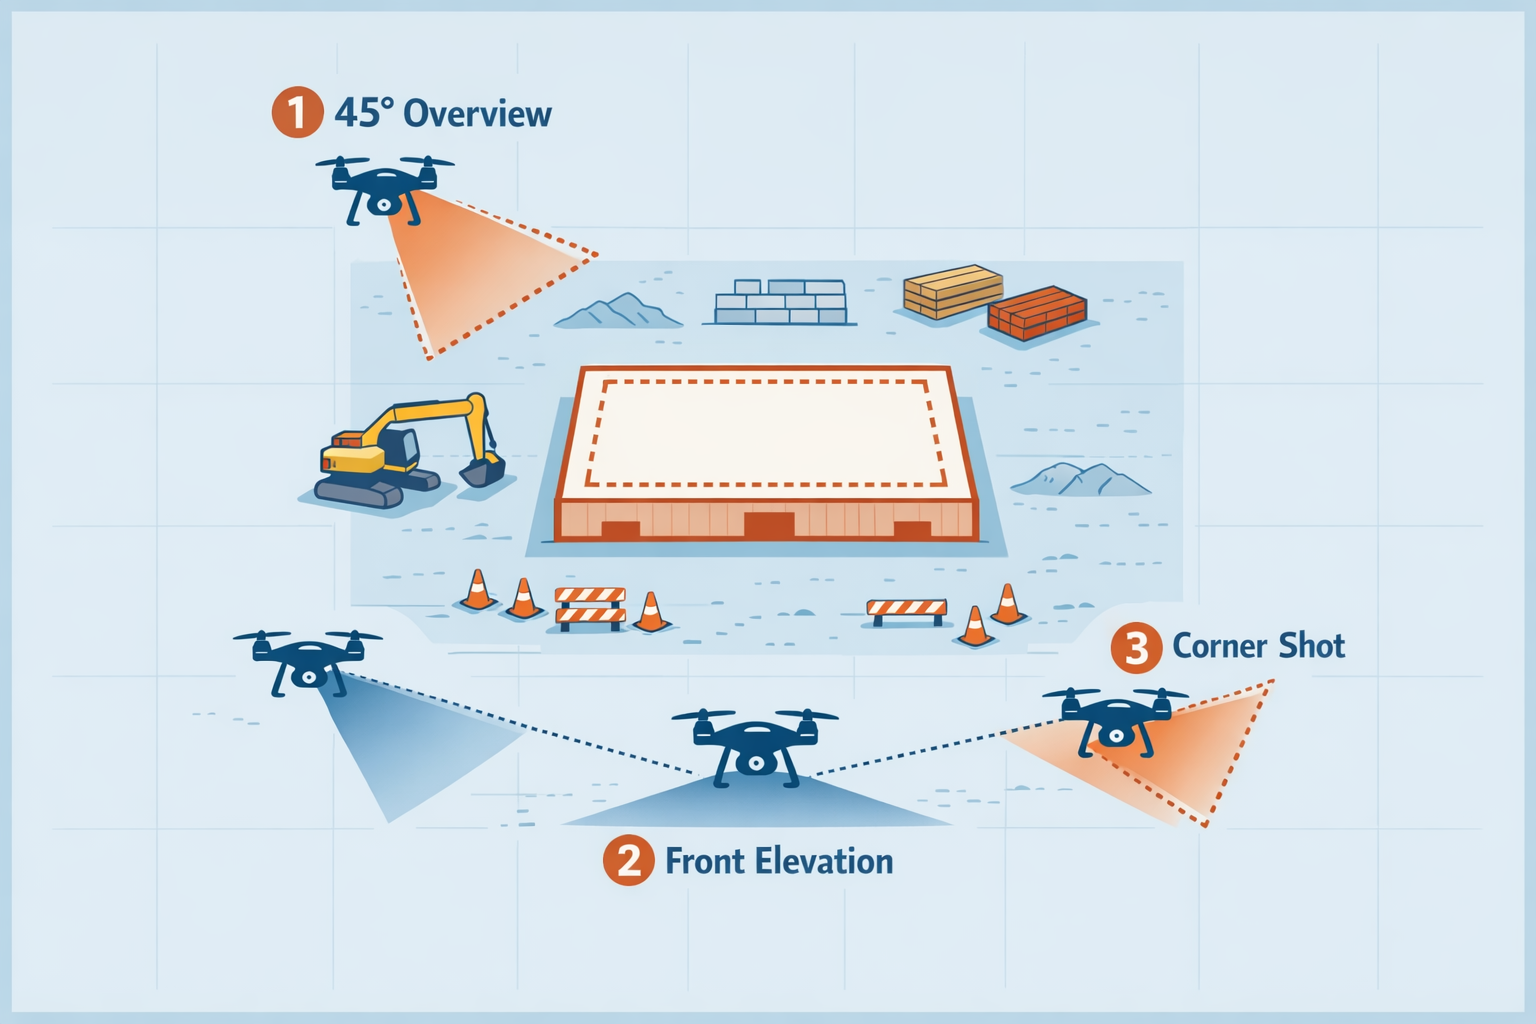
1. The Overview Shot (45° Elevated Angle)
What it is: A wide shot from above and slightly to one side, capturing the full site at roughly a 45-degree angle.
Why it works: This is your primary documentation angle. It shows the building footprint, surrounding context, material staging areas, and vertical progress all in one frame. It’s the angle that best communicates overall project status.
How to set it up:
- Fly to roughly 30–50 meters altitude (adjust based on site size)
- Position the drone so the entire building footprint fits within the frame with some margin
- Angle the camera gimbal to approximately 45 degrees below horizontal
- Include a fixed reference point in the frame (a nearby building, road, or tree) to help you realign on future visits
Pro tip: Leave at least 20% margin around the building in frame. As the structure grows vertically, you’ll need that headroom.
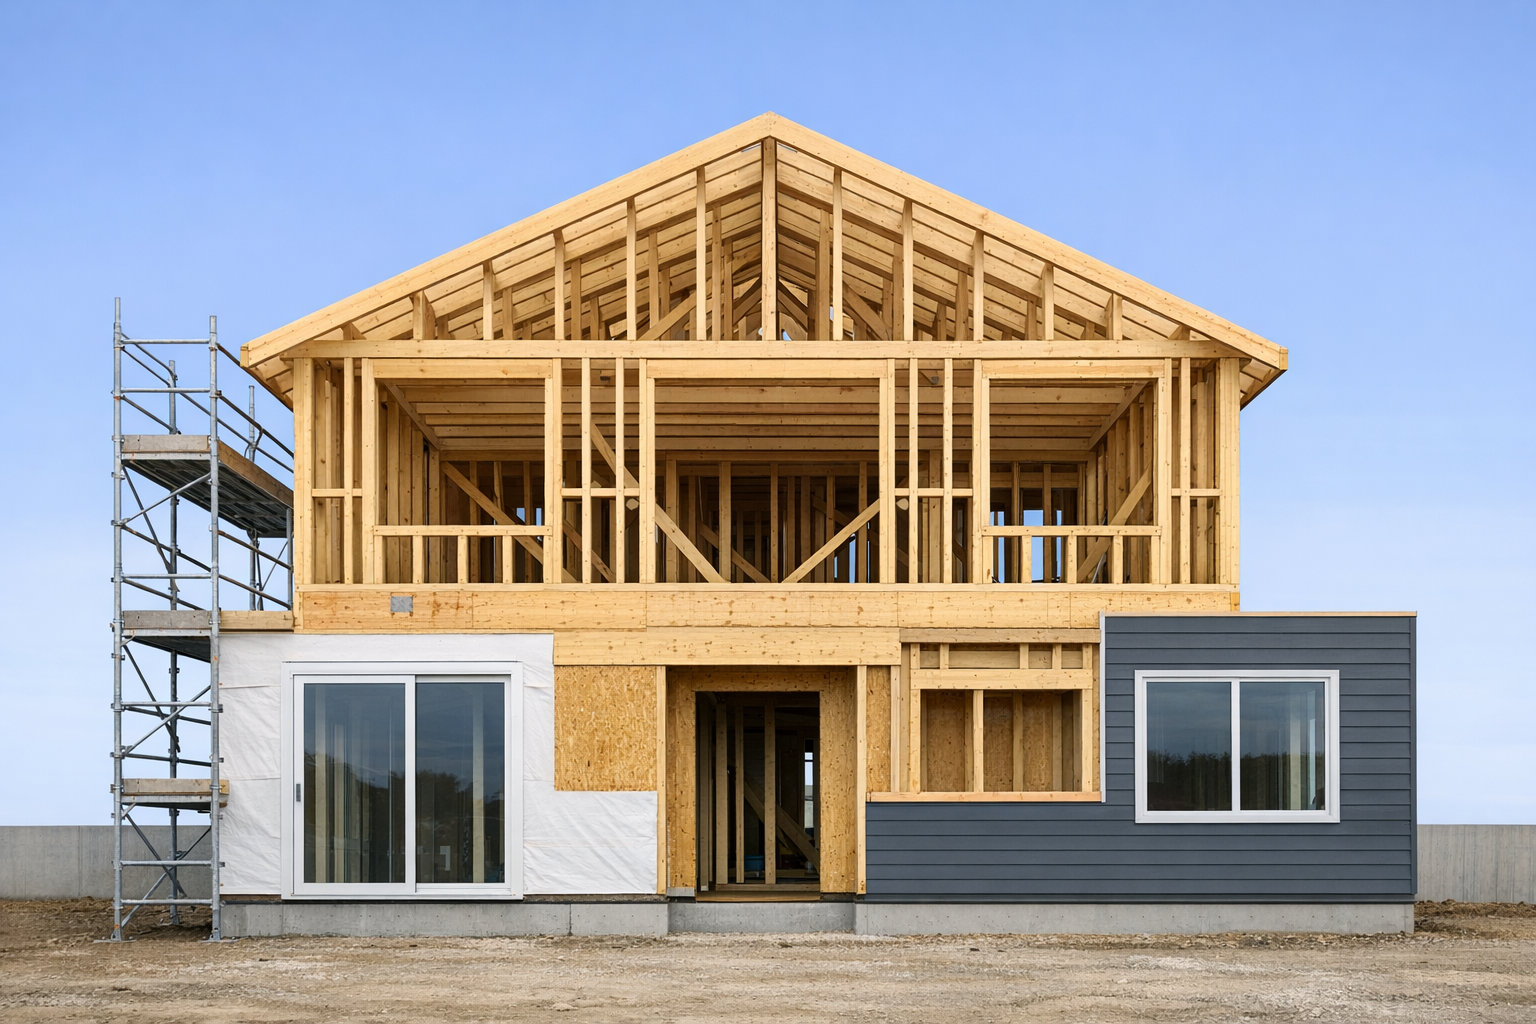
2. The Elevation Shot (Front-On, Eye Level)
What it is: A straight-on shot of the primary façade, taken from roughly the height the finished building will be.
Why it works: This angle captures architectural detail: window openings, roofline, cladding, and finishing work. It’s the perspective most similar to how people will actually see the building, making it immediately relatable.
How to set it up:
- Position the drone directly in front of the main façade
- Match the altitude to roughly mid-height of the finished building (you may need to adjust as floors are added)
- Keep the camera gimbal level (0 degrees) or with a very slight downward tilt
- Ensure the building is centered in frame
Pro tip: This shot is the most sensitive to position changes. Even a 2-meter lateral shift between sessions will be noticeable. Use GPS waypoints (covered below) to nail it every time.
3. The Corner Shot (Three-Quarter View)
What it is: A shot from one corner of the building, showing two façades simultaneously.
Why it works: It adds three-dimensional depth that the front-on shot lacks. You see both the length and width of the building, which is especially effective for showing structural framing, roof construction, and exterior finishing.
How to set it up:
- Position the drone at a 30–45 degree angle from one corner
- Altitude should be slightly above the eventual roofline
- Angle the gimbal to about 20–30 degrees below horizontal
- Frame both visible façades roughly equally
Pro tip: Choose the corner that gets the most consistent sunlight at your planned shooting time. This reduces dramatic shadow changes between sessions.
The Secret to Perfect Consistency: GPS Waypoints
Most modern drones (DJI Mini 4 Pro, Air 3, Mavic 3, and similar) support waypoint missions, pre-programmed flight paths that the drone follows automatically. This is the single most important tool for timelapse consistency.
How to Set Up a Waypoint Mission
- First visit: fly manually. Take your time finding the perfect positions for your three angles. Hover at each position and capture your first shot.
- Save the waypoints. In your drone’s companion app (e.g., DJI Fly), save each position as a waypoint including altitude, GPS coordinates, gimbal angle, and camera direction.
- Create a mission. String the waypoints into a repeatable mission. Set the drone to pause at each waypoint and capture a photo.
- Every subsequent visit: run the mission. The drone flies the same path, stops at the same positions, and takes the same shots. Consistency handled.
If Your Drone Doesn’t Support Waypoints
Not all drones (especially consumer models) support full waypoint missions. Here’s how to get close:
- Use a ground marker. Place a visible marker (spray-painted X, traffic cone, or stake) at your takeoff position. Always launch from the same spot.
- Record your settings. On your first flight, note the altitude, distance from the building, compass heading, and gimbal angle for each shot. Write them down or photograph the on-screen telemetry.
- Use grid overlays. Enable the rule-of-thirds grid on your drone camera. Use the gridlines to align the building consistently in frame.
- Shoot wider than you need. Capture at maximum resolution with extra margin. You can crop and align frames in post-production.
Camera Settings: Lock Everything Down
Auto-exposure is the enemy of timelapse consistency. When the camera adjusts settings between shots, you get brightness flickering in the final sequence.
Recommended Settings
| Setting | Recommendation | Why |
|---|---|---|
| Shooting mode | Manual (M) | Full control over exposure |
| ISO | 100–200 | Keeps noise low and consistent |
| Shutter speed | 1/500 – 1/1000 | Fast enough to freeze any drone movement |
| Aperture | f/2.8 – f/5.6 | Sharp across the frame (if adjustable) |
| White balance | Fixed (Sunny or Cloudy) | Prevents color shifts between sessions |
| Image format | RAW + JPEG | RAW for flexibility, JPEG for quick sharing |
| Aspect ratio | 4:3 or 3:2 | Maximum sensor coverage (avoid 16:9 crop) |
The Exposure Challenge
Here’s the reality: lighting changes. A shot on a sunny day in July will look completely different from an overcast day in November. You have two options:
- Shoot at the same time of day. This minimizes shadow direction changes. Late morning (9–11 AM) or early afternoon (1–3 PM) typically offer the most consistent, even lighting.
- Fix it in post. If you shoot RAW, you can normalize exposure and white balance across all frames before assembling the timelapse.
For most people, option 1 is easier. Pick a consistent time slot and stick to it.
How Often Should You Shoot?
The right interval depends on how fast things are changing:
| Construction Phase | Recommended Interval | Why |
|---|---|---|
| Earthworks & Foundation | Every 2–3 days | Dramatic daily changes, heavy machinery |
| Structural Framing | Weekly | Steady vertical progress, visible week-over-week |
| Roofing | Every 2–3 days | Fast-moving phase, easy to miss key moments |
| Exterior Cladding | Weekly | Gradual transformation, consistent pace |
| Interior Fit-Out | Bi-weekly or N/A | Less visible from outside; switch to interior photos |
| Landscaping & Finishing | Weekly | Final transformation, great for the conclusion |
A practical minimum: If you can only commit to one schedule, weekly shots provide a good balance between effort and completeness. A 12-month build produces roughly 50 frames, enough for a smooth, satisfying timelapse.
Pre-Flight Checklist for Timelapse Sessions
Consistency starts before you even launch the drone. Use this checklist every time:
Before you leave:
- Batteries fully charged (drone + controller)
- Memory card formatted and inserted
- Previous waypoint mission loaded (if applicable)
- Check weather forecast; avoid rain, strong wind (>25 km/h), and fog
On site:
- Launch from the same takeoff position
- Load and execute your saved waypoint mission
- Verify camera settings match your locked values (manual mode, fixed WB, fixed ISO)
- After each shot, check the preview: is the framing consistent with previous sessions?
After the flight:
- Transfer images to your computer/cloud immediately
- Name files with the date (e.g.,
2026-04-01_overview.jpg) - Upload to your timelapse sequence in Site Diary AI
- Log the session in your site diary entry for the day
Common Mistakes That Ruin Construction Timelapses
1. Changing the Aspect Ratio
Switching between 4:3 and 16:9 between sessions means some frames won’t match. Pick one ratio on day one and never change it.
2. Forgetting the Gimbal Angle
The gimbal angle affects perspective dramatically. A 5-degree difference makes the building appear to tilt between frames. Lock it down and record it.
3. Flying in Drastically Different Weather
A foggy morning and a bright afternoon produce images that can’t be smoothly blended. Aim for similar conditions, or at minimum, similar lighting direction.
4. Starting Too Late
The most regrettable timelapse mistake is starting after work has already begun. The most powerful timelapses show the transformation from empty lot to finished building. Start shooting before ground breaks if possible.
5. Inconsistent Framing
Even small shifts compound over dozens of frames. The building appears to drift across the screen. GPS waypoints solve this, but if flying manually, take the extra 30 seconds to compare your live view with the previous session’s photo.
From Drone Shots to Shareable Timelapse
You’ve captured 50 perfectly consistent drone photos over the course of your build. Now what?

Traditional timelapse creation requires video editing software: importing frames, setting durations, adding transitions, rendering, and exporting. It’s a project in itself.
Site Diary AI makes this instant. Upload your drone shots into a named timelapse sequence (e.g., “Front Elevation” or “Overview”), drag them into order, and hit play. The timelapse plays back immediately in your browser with smooth transitions. No rendering, no video editing, no export wait.
Even better, you can generate a share link and send it to clients, investors, or family members. They watch the timelapse in their browser without creating an account. You can see how many times each link has been viewed.
Upload drone shots, arrange them into a sequence, and share a live timelapse link with anyone. Your first project is completely free, no credit card required.
Start Free →Bonus: Legal and Safety Considerations
Before flying a drone on a construction site, be aware of:
- Airspace regulations. In most countries, you need to register your drone and follow altitude and proximity rules. In the EU, check EASA regulations. In the US, check FAA Part 107.
- Site permissions. If it’s not your own property, get written permission from the site owner or general contractor before flying.
- No-fly zones. Airports, hospitals, government buildings, and other sensitive areas may restrict drone operations. Use apps like AirMap or DJI’s built-in geofencing to check.
- Privacy. Avoid capturing identifiable images of workers or neighboring properties without consent.
- Insurance. Many jurisdictions require liability insurance for drone operations. Check your local requirements.
Wrapping Up
A construction timelapse is one of the most rewarding ways to document a build. It compresses months of hard work into seconds of visual storytelling, and it’s a record you’ll look back on for years.
The difference between an amateur timelapse and a professional one comes down to one word: consistency. Same position, same angle, same settings, same time of day. Nail those, and the rest takes care of itself.
Start with three angles, set up your waypoint missions, lock your camera settings, and commit to a regular shooting schedule. Your future self (and your clients) will thank you.